How to Set Up and Use Passkeys Instead of Passwords
Learning how to set up and use passkeys instead of passwords is one of the easiest security upgrades you can make — and once you do it, signing in gets faster, not harder. A passkey replaces the typed password with the fingerprint, face scan, or device PIN you already use to unlock your phone or computer, and it’s nearly impossible to phish or steal. This guide explains how passkeys work, what you need before creating one, and how to add them to your biggest accounts and any website that supports them — including how to sign in on devices that aren’t yours.
Key Takeaways
- Passkeys use cryptographic keys stored on your device, verified with your face, fingerprint, or PIN — and they’re phishing-resistant by design.
- Start with your Google, Apple, or Microsoft account; each takes only a few minutes to set up.
- On a shared or new device, you sign in by scanning a QR code with your phone — nothing gets stored on the borrowed machine.
- Passkeys sync automatically through iCloud Keychain, Google Password Manager, or third-party managers, and can be deleted from both your device and the website.
- Most passkey problems come down to Bluetooth, sync settings, or outdated software — all quick fixes.
What Passkeys Are and Why They Beat Passwords
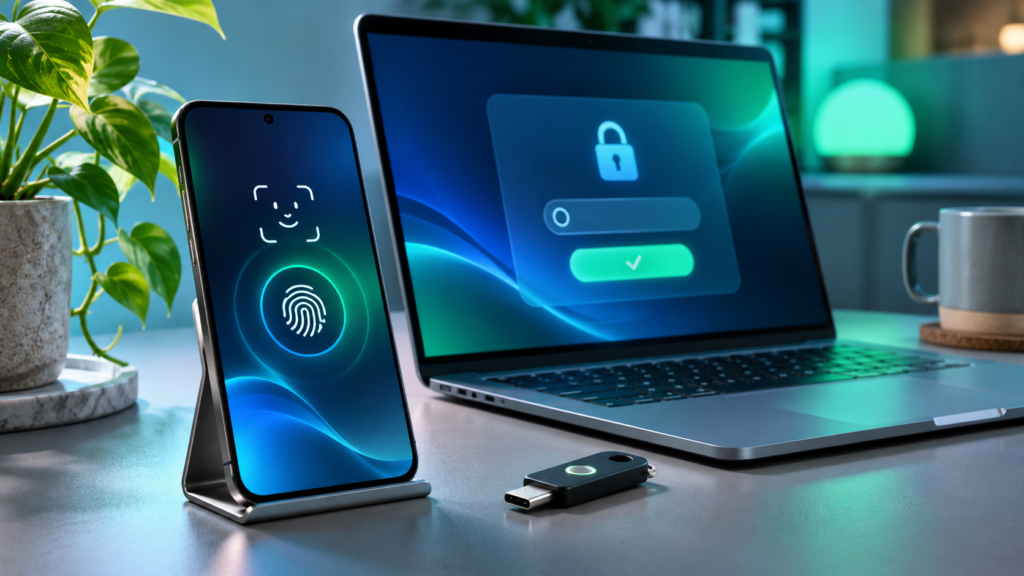
A passkey is a pair of cryptographic keys based on the FIDO2 and WebAuthn standards. When you create a passkey, your device generates a private key that stays locked on the device and a public key that gets registered with the website or app. At sign-in, the site sends a challenge that only your private key can answer — and it only answers after you approve the request with your face, fingerprint, or PIN.
One point worth understanding upfront: your biometric itself never leaves the device. The website doesn’t receive your fingerprint or face data — it only receives the cryptographic proof that you approved the sign-in. Your fingerprint is simply the local key that unlocks the private key.
This design fixes nearly every weakness of passwords:
- Phishing-resistant: A passkey is bound to a specific domain. A fake site like “paypa1.com” can’t trick it into responding, because the passkey only works on the real domain it was created for.
- Nothing reusable to steal: If a company’s database is breached, attackers only get public keys — useless without the private keys sitting on users’ devices.
- No memorization or reuse: There’s nothing to forget, mistype, or recycle across accounts.
- Faster sign-in: One glance or tap replaces typing a password and waiting for a one-time code.
You may also hear about hardware security keys, like YubiKeys. Those are physical devices that can store passkeys too — same underlying technology, different storage location. For most people, the passkeys stored on a phone or computer are plenty. The FIDO Alliance’s passkey overview explains the standard in more detail if you’re curious.
What You Need Before Creating a Passkey
Passkeys don’t require special hardware, but a few pieces need to be in place:
- A reasonably current device and OS. Passkeys work on iOS 16 and iPadOS 16 or later, macOS Ventura or later, Android 9 or later, and Windows 10/11 with Windows Hello configured. Older devices may not support them.
- A screen lock. Your device needs a fingerprint, face unlock, or PIN set up — the passkey relies on that local verification to confirm it’s really you.
- A place to store and sync passkeys. On Apple devices that’s iCloud Keychain; on Android and Chrome it’s Google Password Manager. Third-party managers like 1Password, Bitwarden, and Dashlane also store passkeys and sync them across platforms.
- A supported app or website. The service has to offer passkeys — look in its security settings for “passkey,” “passwordless,” or “sign-in with biometrics.”
- Bluetooth. Signing in on a different device by scanning a QR code requires Bluetooth on both devices for a proximity check.
- A working fallback. Keep your recovery email and phone number current, and consider keeping two-step verification active during the transition — our guide to turning on two-step verification for a Google account walks through it. If a passkey ever fails, you want a second way in.
How to Set Up a Passkey for Your Google, Apple, or Microsoft Account
Your primary account is the best place to start, because it’s the account most likely to be targeted and the one that often holds your other passkeys.
Google Account
- Sign in at myaccount.google.com and open the Security tab.
- Under “How you sign in to Google,” select Passkeys and security keys.
- Choose Create a passkey, then pick whether to save it on the device you’re using or scan the QR code with a different device, like your phone.
- Approve the creation with your fingerprint, face, or PIN when prompted.
Google may have already created passkeys automatically on Android devices where you’re signed in — check the list before adding duplicates. If your account is managed by an employer or school, an administrator may control whether you can create passkeys at all.
Apple Account
If you’re signed in to iCloud on a recent version of iOS, iPadOS, or macOS, Apple automatically provisions a passkey for your Apple account. To use it, go to an Apple sign-in page such as account.apple.com and choose the passkey option, then approve with Face ID or Touch ID. For third-party apps and websites, you’ll create passkeys individually through each service’s settings, and they’ll appear in Settings → Passwords (or the dedicated Passwords app on newer iOS versions).
Microsoft Account
- Go to account.microsoft.com, open Security, then select the option to manage how you sign in.
- Choose Add a new way to sign in or verify, then pick the face, fingerprint, PIN, or security key option.
- Decide where to save the passkey: on the Windows device via Windows Hello, on a phone by scanning the QR code, or on a hardware security key.
- Complete the prompt on whichever device you chose.
Microsoft accounts can go fully passwordless, but you don’t have to remove your password on day one — test the passkey first.
How to Create a Passkey on Websites and Apps That Support Them
The flow is nearly identical everywhere once you know where to look. Services like PayPal, eBay, Amazon, GitHub, WhatsApp, Adobe, and Shopify have all added passkey support, and directories like passkeys.directory track which sites offer it.
- Sign in with your existing method.
- Open the account, security, or sign-in settings.
- Look for an option labeled passkey, passwordless sign-in, or create a passkey.
- Follow the prompt — your device will ask you to approve the creation with your face, fingerprint, or PIN.
- The passkey is saved to whichever manager is active on that device: iCloud Keychain on Apple hardware, Google Password Manager on Android and Chrome, Windows Hello on Windows, or your third-party password manager.
Two things trip people up here. First, creating a passkey does not delete your password — the password stays active unless the site lets you remove it. That’s a safety net, not a mistake. Second, if you live in a mixed-device household (say, an iPhone and a Windows PC), consider creating one passkey per ecosystem, or use the QR-code sign-in method described below. A passkey created on your iPhone syncs to your Mac and iPad, but it won’t magically appear inside Chrome on your Windows desktop.
How to Sign In With a Passkey on Your Own Devices
This is where passkeys pay off daily. The typical flow:
- Open the app or website and tap Sign in.
- Enter your username or email if asked, or tap the passkey sign-in button — many sites detect your passkey and offer it immediately.
- Your device shows a prompt. On a phone, the passkey often appears right in the autofill bar above the keyboard.
- Approve with your fingerprint, face, or PIN. You’re in — usually in under two seconds.
If your face or fingerprint isn’t recognized — a wet finger, a mask, bad lighting — the device falls back to your PIN, which is equally valid for approving a passkey sign-in. If you have multiple passkeys for one service (common if you manage several accounts), the prompt will show a list to pick from rather than signing you in blindly. And if nothing appears at all, the site may be defaulting to a password box — look for a “more options” or “try another way” link to trigger the passkey prompt.
How to Use a Passkey on a Shared or New Device
Passkeys solve an awkward problem: signing in on a device where your passkey doesn’t exist — a work laptop, a friend’s computer, or a brand-new phone that hasn’t finished syncing. The answer is cross-device sign-in with a QR code:
- On the sign-in page, choose Use a passkey, then select an option like another device or iPhone, iPad, or Android device.
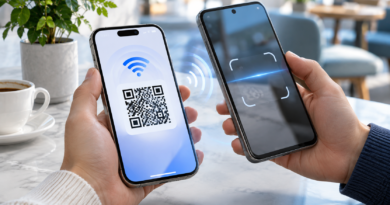
- A QR code appears on screen. Open your phone’s camera and point it at the code.
- Your phone detects the sign-in request over Bluetooth — this proximity check is what keeps remote attackers from abusing the flow. Tap the prompt and approve with your biometric.
- The browser session completes. Critically, nothing is stored on the shared machine unless you choose to save a local passkey.
On a device that’s actually yours, save a local passkey when offered so future sign-ins skip the QR step. On shared or public devices, decline that offer and sign out when finished — on a library or hotel machine, use a private or guest browsing window as well. If you’re setting up a replacement phone, your synced passkeys arrive with iCloud Keychain or your Google account automatically — our guide to transferring everything to a new phone covers the rest of the migration.
How to Manage, Sync, and Delete Passkeys
Where to find your passkeys:
- iPhone/iPad/Mac: Settings → Passwords, or the Passwords app on newer versions. Passkeys sit alongside your saved passwords, organized by site.
- Android: Open Google Password Manager (usually under Settings → Passwords, passkeys & autofill, or at passwords.google.com). Exact menu names vary by manufacturer.
- Windows 11: Settings → Accounts → Passkeys shows passkeys saved to that PC.
How syncing works: iCloud Keychain syncs passkeys across every Apple device signed into your Apple account. Google Password Manager syncs across Android devices and Chrome wherever you’re signed into the same Google account. Third-party managers sync across everything they run on — handy for mixed-platform households.
Deleting a passkey properly takes two steps. Removing it from your device deletes the private key, but the website still holds the public key and may keep prompting for a passkey that no longer exists. For a clean removal, delete it in your device’s password manager and remove it from the site’s security settings page.
If a device is lost or stolen, sign in to the affected accounts on another device and revoke that device’s passkeys from the security settings — the thief can’t use them anyway without your face, fingerprint, or PIN, but revocation is good hygiene. And before switching ecosystems (say, iPhone to Android), create fresh passkeys inside your new password manager before erasing the old device.
Troubleshooting Common Passkey Problems
- No passkey option on a site. It may not support passkeys yet, or the option hides under “security key” or “passwordless.” Make sure the app is updated too.
- The passkey prompt never appears. Update your browser and operating system, or try a different browser — older versions lack full WebAuthn support.
- QR code sign-in fails. Enable Bluetooth on both devices and keep them within a few feet of each other, then refresh the code. This is the single most common cause.
- “No passkeys available” on a new device. The passkey likely lives in a different ecosystem — one created on an iPhone won’t appear in Windows Chrome. Use the QR flow instead, or create an additional passkey for that platform.
- Passkeys aren’t syncing. Confirm iCloud Keychain is toggled on (Settings → your name → iCloud), or that Chrome sync is enabled and you’re signed into the correct Google account.
- The site still demands a password. Normal during the transition — many services treat passkeys as one option among several. Keep your password and a second factor active until the site officially drops password requirements.
- A managed work device blocks passkeys. Corporate policies can disable them; ask your IT department rather than fighting the setting.
Passkey FAQ
Are passkeys really safer than passwords? Yes. There’s no shared secret on the server to breach, nothing to phish, and the cryptographic check only works on the legitimate domain. Even a perfect fake site gets nothing.
What happens if I lose the device that holds my passkey? Your passkeys aren’t trapped on one device — they live in iCloud Keychain or Google Password Manager and restore when you sign into a replacement. For the interim, use a synced device or the site’s fallback sign-in, then revoke the lost device’s passkeys.
Can I still use my password after creating a passkey? Almost always, yes. Most services keep passwords active alongside passkeys, and a few let you remove the password entirely once you’re confident the passkey setup works everywhere you need it.
Does a passkey work if my fingerprint or face scan fails? Yes — your device simply asks for the PIN or pattern you use to unlock it instead. That local check is the real verification layer, so a biometric failure doesn’t lock you out of your accounts.
Conclusion
The simplest path into passwordless sign-in is to set up one passkey today on the account you use most — Google, Apple, or Microsoft — and sign in with it a few times. Once it clicks, add passkeys to your banking, shopping, and social accounts as they offer them, keeping your password and a second factor as a backup until you’re fully comfortable. Passkeys handle the account side of security brilliantly; pairing them with the basics covered in our guide to securing your home Wi-Fi network gives you a genuinely solid foundation.