How to Back Up Your Phone: Android and iPhone Guide
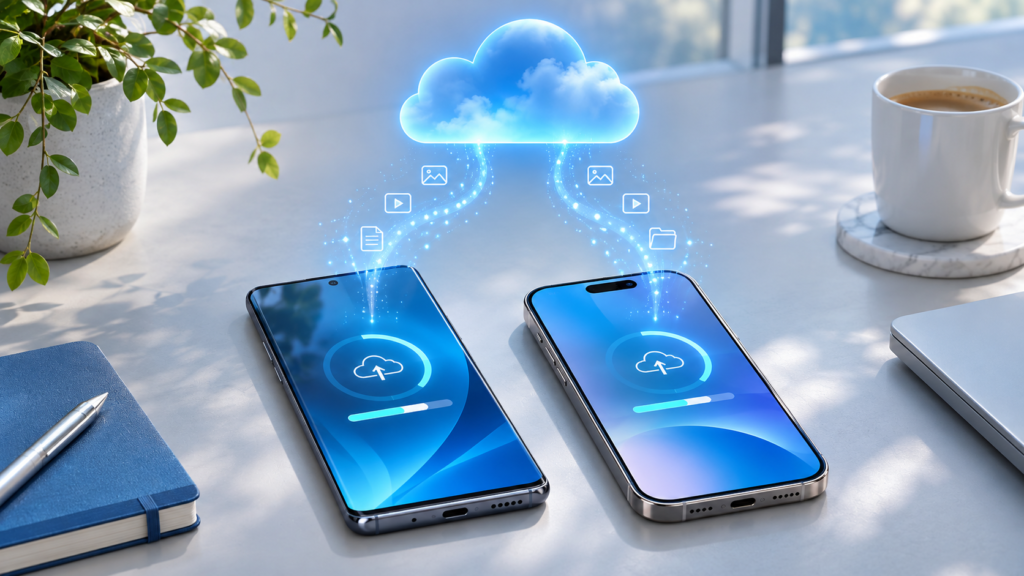
Learning how to back up your phone is one of the simplest ways to protect the photos, messages, contacts, and app data you rely on every day. Whether you use an Android device or an iPhone, setup takes only a few minutes, and once automatic backups are enabled, your phone protects itself with no ongoing effort. This guide covers every reliable method — Google account backups on Android, iCloud on iPhone, manufacturer tools like Samsung Smart Switch, and full backups to a computer — so you can pick the approach that fits your storage needs.
Key Takeaways
- A backup creates a restorable copy of your data so a lost, stolen, or broken phone does not mean lost files.
- Android phones back up automatically to your Google account when charging on Wi-Fi.
- iPhones back up to iCloud automatically, or to a computer using Finder, the Apple Devices app, or iTunes.
- No single method saves everything — WhatsApp chats, photos, and passwords often need separate attention.
- Restoring happens during new phone setup, so keep your old device until the transfer is verified.
Why Backing Up Your Phone Matters and What a Backup Actually Saves
Phones get dropped in water, fail during software updates, and disappear from pockets and café tables. According to the way most people use their devices, your phone is now the primary storage for years of photos, two-factor authentication apps, and conversations that exist nowhere else. Without a backup, all of it is one accident away from being gone permanently.
A backup is a copy of your phone’s data stored somewhere else — either in a cloud service tied to your account or on a computer’s hard drive. If something happens to the device, you sign in on a replacement phone and pull that copy back down. This is different from syncing: sync keeps data like contacts or iCloud Photos continuously mirrored across devices, while a backup is a snapshot designed to rebuild a phone from scratch.
Depending on the method, a backup typically saves your contacts, call history, text messages, device settings, Wi-Fi passwords, home screen layout, and data from many apps. Photos and videos are often handled by a companion service rather than the device backup itself. If your phone is ever lost or stolen, a recent backup — combined with tools covered in our guide on finding a lost or stolen phone — turns a disaster into an inconvenience.
How to Back Up an Android Phone with Your Google Account
Every Android phone signed into a Google account has a built-in automatic backup system managed through Google One. It runs in the background when the phone is charging, idle, and connected to Wi-Fi, so most people only need to confirm it is switched on.
- Open Settings and tap Google.
- Tap Backup (on some phones this sits under All services or System > Backup — you can also type “backup” into the Settings search bar).
- Make sure Backup by Google One is toggled on.
- Tap Back up now to run your first backup immediately.
This backup covers app data, call history, contacts, device settings, and SMS messages. Photos and videos are handled separately by Google Photos — open the Photos app, tap your profile picture, and confirm backup is enabled there too. Many people assume the main backup includes their camera roll and never check Photos, which is the most common gap.
Your Google account includes 15 GB of free storage shared across Gmail, Drive, and Photos. If your backup won’t fit, you can remove old device backups or upgrade to a Google One plan. For full details, see Google’s official backup documentation.
One thing this backup does not cover is WhatsApp. Open WhatsApp, go to Settings > Chats > Chat backup, and link your Google account so your message history saves to Google Drive on a schedule you choose.
How to Back Up Android Using Manufacturer Tools and a Computer
A cloud backup is convenient, but a second copy on hardware you control is cheap insurance — especially if your Google storage is nearly full or you have limited connectivity.
Samsung owners have the strongest extra option: Smart Switch. Install the free Smart Switch app on a Windows PC or Mac, connect the Galaxy phone by USB cable, and choose Backup. This creates a full local copy including settings, messages, and app data that can be restored to another Samsung device. Smart Switch can also back up directly to a USB drive or SD card from the phone itself under Settings > Accounts and backup. Samsung Cloud still syncs items like contacts and calendar data, though it no longer handles photo backups, which now route through OneDrive.
On any Android phone, you can copy files manually. Connect the phone to a computer with a USB cable, unlock it, tap the USB notification, and select File transfer. You can then drag folders like DCIM (photos and videos), Downloads, and Documents to your computer. This copies files only — it does not preserve app data or settings — but for irreplaceable photos it is a fast, free extra layer of protection.
Other manufacturers offer similar tools: Xiaomi, Oppo, and others include local backup utilities in Settings, usually under Additional settings > Backup and restore or a dedicated Accounts and backup menu. Check your brand’s support site for its exact path.
How to Back Up an iPhone with iCloud
iCloud Backup is Apple’s built-in automatic system and the right starting point for most iPhone owners.
- Open Settings and tap your name at the top.
- Tap iCloud, then iCloud Backup.
- Toggle on Back Up This iPhone.
- Tap Back Up Now and stay connected to Wi-Fi until it finishes.
Once enabled, your iPhone backs up automatically each day when it is locked, plugged in, and on Wi-Fi — typically overnight while you sleep. You can check the timestamp under the same iCloud Backup screen at any time.
The catch is storage. Apple provides only 5 GB of free iCloud space shared across everything, and a phone with even a modest photo library will exceed that quickly. If backups fail with a storage warning, you either need an iCloud+ subscription or must reduce what the backup includes under iCloud > Manage Account Storage > Backups, where you can exclude individual large apps. Apple’s official iPhone backup guide covers the fine print.
Remember that iCloud Backup and iCloud Photos are separate systems. If iCloud Photos is enabled, your pictures sync to iCloud independently and are excluded from the device backup to save space — which is fine, as long as the sync itself is on.
How to Back Up an iPhone to a Mac or Windows PC
A computer backup stores a complete copy of your iPhone locally, uses no cloud storage quota, and is often faster to restore.
On a Mac running macOS Catalina or later, connect the iPhone by cable and open a Finder window. Select your iPhone in the sidebar, choose Back up all of the data on your iPhone to this Mac under the General tab, and click Back Up Now. On very old macOS versions that still use iTunes, the same option lives on the iTunes device Summary screen.
On Windows, install the free Apple Devices app from the Microsoft Store (on older Windows installations, use iTunes). Connect the iPhone, select it in the app, open the General or Summary panel, choose Back up all of the data on your iPhone to this PC, and click Back Up Now.
In both cases, seriously consider ticking Encrypt local backup and setting a password. An encrypted backup is the only version that includes saved passwords, Wi-Fi credentials, Health data, and call history. Without encryption, those items are skipped. Write the password down somewhere safe — there is no recovery mechanism if you forget it.
If you mainly want your pictures safely stored on a PC rather than a full device image, our walkthrough on transferring photos from iPhone to Windows covers several simpler options.
What Is and Is Not Included in Each Backup Method
The biggest source of restore-day disappointment is assuming a backup saved something it did not. This comparison shows the broad strokes for the three main approaches.
| Data type | Android (Google backup) | iPhone (iCloud) | iPhone (computer) |
|---|---|---|---|
| Contacts, call history, SMS | Yes | Yes | Yes |
| Photos and videos | Via Google Photos only | Only if iCloud Photos is off | Yes (full copy) |
| App data | Most apps; some opt out | Most apps | Most apps |
| Device settings, Wi-Fi passwords | Yes | Yes | Only if encrypted |
| Health and saved passwords | Passwords sync via Google account | Yes | Only if encrypted |
| WhatsApp chats | Separate Google Drive backup | Separate iCloud backup | Included in app data |
A few things no backup will ever include: your Face ID or fingerprint data, Apple Pay or Google Wallet cards, and content you purchased — apps, music, and movies simply re-download from the store after you sign in. Two-factor authentication apps deserve special care; many require their own export or transfer process, so verify your authenticator app before wiping an old device.
How to Restore a Backup on a New or Reset Phone
Restoring happens during the phone’s initial setup, so if your new device is already running, you will need to erase it and start over to access the restore options.
On Android: turn on the new phone, connect to Wi-Fi, and when the Copy apps & data screen appears, choose to restore from a cloud backup and sign into the same Google account. Pick the backup for your old device from the list. Apps re-download from the Play Store while settings and messages come back automatically. WhatsApp restores separately — install it, verify your number, and tap Restore when it detects the Google Drive backup.
On iPhone: turn on the new device, follow the setup screens to the Transfer Your Apps & Data page, and choose either From iCloud Backup (sign in and pick a backup) or From Mac or PC (connect the cable and click Restore Backup in Finder or the Apple Devices app). An encrypted computer backup will ask for the password you set.
Two practical tips make the process smoother. First, create a fresh manual backup on the old phone immediately before switching — an automatic backup from three days ago misses three days of photos and messages. Second, keep the old phone intact until you have confirmed everything transferred correctly. For a deeper look at moving between devices, including cable and direct transfer options, see our guide on transferring everything to a new phone.
Common Backup Problems and How to Fix Them
Backup stuck or failing on Android. The most common cause is a “Waiting to back up” status on a metered connection — the system wants unmetered Wi-Fi and a charger. Connect to home Wi-Fi, plug in, and run Back up now manually. If it still fails, check your Google One storage under one.google.com; a full quota stops everything silently.
iCloud backup says “not enough storage.” Either upgrade to iCloud+ or shrink the backup: go to Settings > [your name] > iCloud > Manage Account Storage > Backups, tap your device, and toggle off bloated apps — photo-editing apps and games with huge files are frequent offenders.
First backup takes forever. That is normal — the initial upload is the full library, while later backups send only changes. Leave the phone charging on Wi-Fi overnight rather than babysitting it.
Computer backup errors. Try a different USB port or cable, unlock the phone and tap Trust when prompted, and confirm the computer’s drive has enough free space. A nearly full phone can also cause problems during local backups, so it is worth taking a minute to free up storage space on your smartphone if the process keeps stalling.
Cannot restore an old backup. Backups are tied to the account that created them, and a backup made on a newer OS version generally will not restore to a device running an older one — update the new phone first.
Frequently Asked Questions
How often does my phone back up automatically?
Android backs up roughly every 24 hours when idle, charging, and on Wi-Fi. iPhone does the same under those conditions via iCloud Backup. You can always trigger a manual backup from the settings screens described above.
Does backing up my phone include my photos?
Not always — and this catches many people out. On Android, photos save through Google Photos, not the device backup. On iPhone, iCloud Backup only includes your camera roll if iCloud Photos is switched off. Verify whichever photo system you use is actually running.
Can I back up my phone without Wi-Fi?
iCloud requires Wi-Fi, so use a computer backup instead. Android’s Google backup also prefers Wi-Fi, though some devices allow mobile-data backups in the backup settings — watch your data allowance. Manufacturer and computer backups work without any internet at all.
Conclusion
The best backup strategy is a simple two-layer one: enable the automatic cloud backup built into your Google or Apple account for everyday protection, and add an occasional computer backup for a complete local copy. Set up WhatsApp’s separate chat backup, confirm your photos are syncing, and glance at the “last backup” timestamp once a month. Ten minutes of setup today means a lost, stolen, or shattered phone costs you a device — never your data.